In celebration of this weather, and my mom, I wanted to share this Easy DIY Wind Chime tutorial with you. We have started my favorite time of the year. I try to spend as much time outdoors as I can to enjoy the beautiful, warm weather.

Easy DIY Wind Chime Tutorial:
My mom is the just as excited about the warm weather as I am. She is the happiest when she can get outside and work in her yard. That is why I decided to make her a wind chime for Mother's Day this year.

Easy DIY Wind Chime Supplies:
1-6 inch wire wreath frame.
6/O Glass Beads (about four ounces) assorted colors
5-small yellow four hole buttons
5-small orange four hole buttons
1-large orange four hole button
10-small decorative daisy buttons
5-medium decorative daisy buttons
5-2.5 inch oval shaped bells
1-package waxed linen cord (20 yards)
1-2 inch O-Ring
How To Make Your Easy DIY Wind Chime:

Step 1: Paint your frame to match your bells.
Step 2: Cut ten strands of cord about 33-inches long.
Step 3: Attach two cords at a time to your frame using a slip knot.

Step 4: Once you have them centered, spray each slip knot in place with a small spray of adhesive. Protect you surface from overspray. Make sure to give the top and then the bottom a slight dusting.
Step 5: Start putting on your beads. Repeat the same pattern on each strand.

Step 6: Add a few decorative touches. Buttons work well for this. Charms would work also.

Step 7: Tie the bells on the end of your strands.

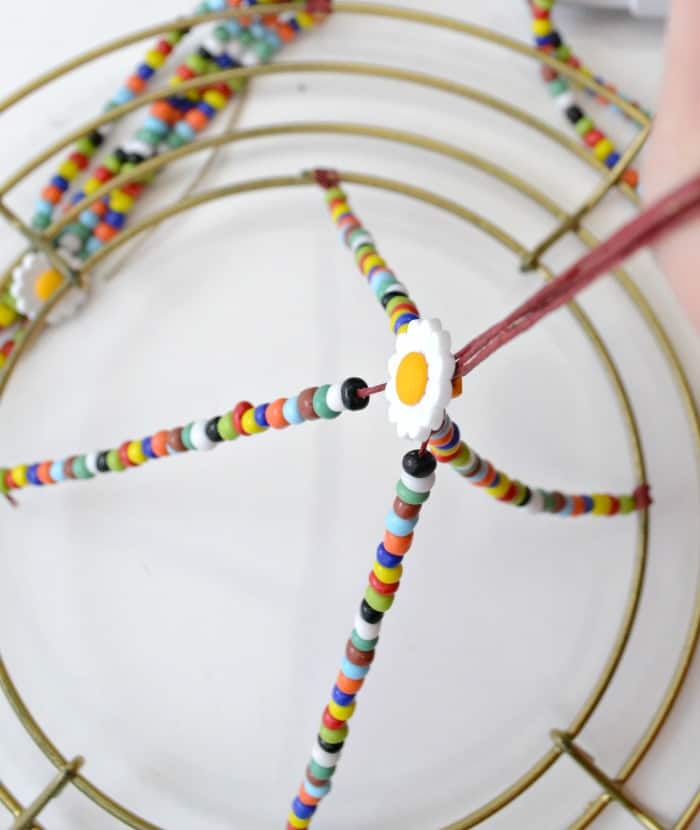
Step 8: Tie single cords to the center of your frame. These cords should be about 6 to 10-inches longer than your finished strands. The extra length will give you room to work with them. Leave about 6 inches of the strand at the top for the hanger. (Please note in the picture below that I did not leave the extra 6 inches at the top. Since I discovered this would be useful information after I had already cut them, I added that information for you.) The longer four single cords will end up being your 5th strand.

Step 9: Repeat steps 5, 6 and 7. Combine your four strands into a single strand with your buttons or charms.

Step 10: Put the beads on the 6 inches of cord you left at the top of the frame
Step 11: Feed the four beaded strands through the holes in a button to start the wind chime hanger.

Step 12: Tie the four strands around an O-Ring or a washer to make a hanger for the wind chime.
As I always say, "Voila, there you have it!" You have just made an amazing wind chime to keep or give away! Enjoy the sweet sound of bells while loving this weather!


Comments
No Comments