Do you love Sword Art Online, Attack On Titan, or Fairy Tail? Maybe these aren’t your anime’s of choice, and that’s fine. With this tutorial, you can create a personalized DIY anime gift box for the anime lover in your life.

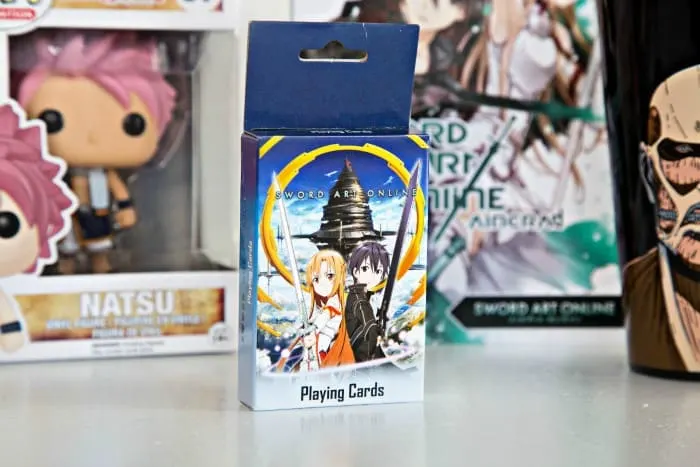
I made the anime gift basket I’m sharing today for my son. Over the past few months both of my boys have started watching anime. I designed this basket based on some of their favorite animes.

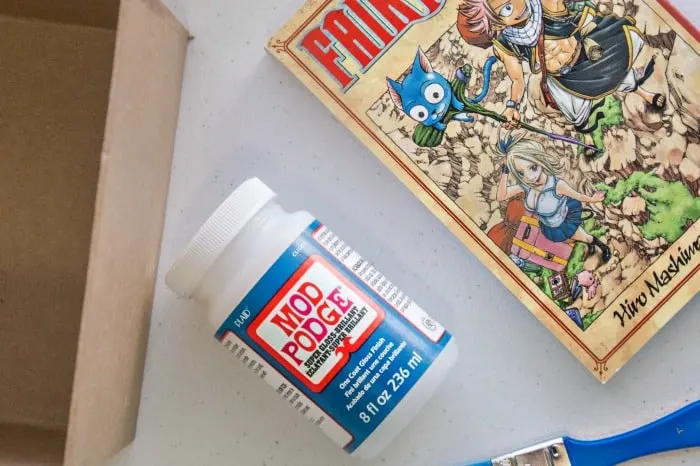
Their favorite shows at the moment are Fairy Tail, Sword Art Online, and Attack on Titan, so the first thing I did was price the mangas online. I knew that I wanted to decoupage the gift box with the pages from a manga, but I didn’t want to spend a fortune doing it. I chose Fairytail because it was the cheapest book I could find.
Never having read these myself, so I had no idea the pages were black and white.
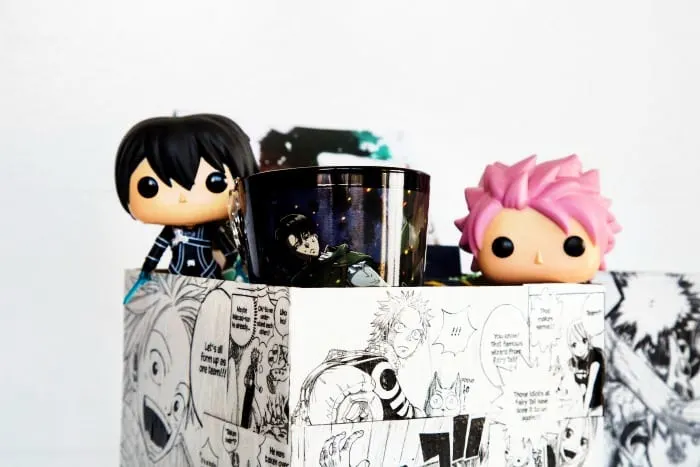
DIY Anime Gift Box:
If I would have had more time, I think it would have been fun to watch the show and color the pages before putting them on the box. Of course, it’s totally up to you, but I have found that most anime lovers are very artistic so coloring them with Copic’s would probably be right up your alley, and it would make this gift even more unique and personal.
Supplies:
Cardboard Gift Box (I got mine at Hobby Lobby for 50% off so they were only $2.99)
Paint Brush
Mod Podge Glossy
Fairy Tail Manga
Attack On Titan Glasses
Fairy Tale Keychains
Sword Art Online Book
Natsu Pop Figure
Kirito Pop Figure
If you plan to purchase anime products on Amazon, you need to pay attention to where the products are coming from.
We have ordered lots of anime stuff from Amazon and sometimes we can get our order in two days, and sometimes it takes two months. When you order from a supplier overseas, it will always take longer to get your order.
Sometimes you won’t get your order (that has happened to us before). Your best bet (especially when ordering for a gift) is to order items that offer two-day shipping. If you use Amazon Prime shipping is FREE, and that’s always a great bonus.
How To Make Your DIY Anime Gift Box:
Once you have all of your supplies you can get to work on your anime gift box.
Step 1: Tear out pages from the manga that you want to use on your box. (Color the pages if desired)
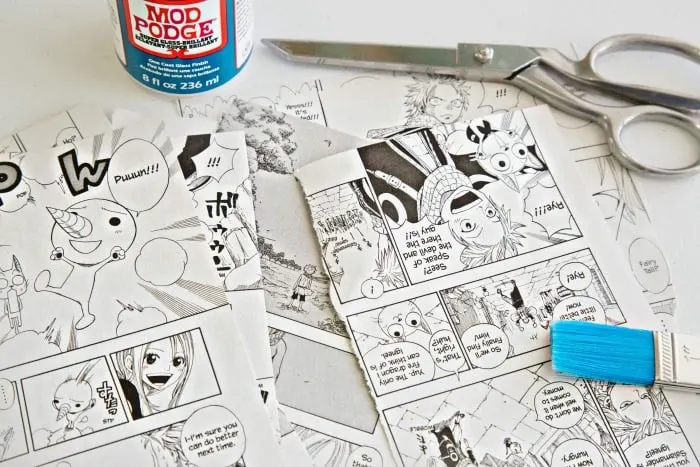
Step 2: Cut images from the pages of the manga to fit your box. You can choose to fit the images to your box as you go, or you can pre-measure everything. I find it more fun to work as I go so and cut additional images out if necessary to fit my blank spaces. Don’t be afraid to stack and layer images.

Step 3: Add images to your gift box by adding mod podge to the box itself first and then placing the image on the adhesive. Make sure your image is exactly where you want it before moving on. The images are pretty easy to move when you first place them.
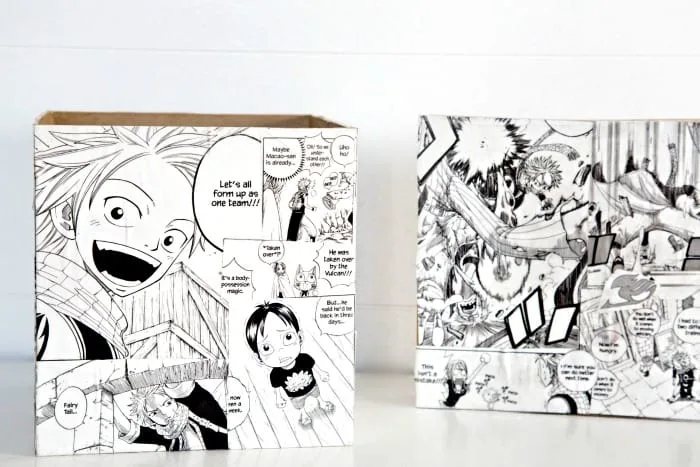
Step 4: Cover your box completely and apply mod podge over the top of every image.

Step 5: Allow drying completely. You may need to go back and do this a second time if it’s not as glossy as you would like it to be after the first coat. I only used one coat for my box.
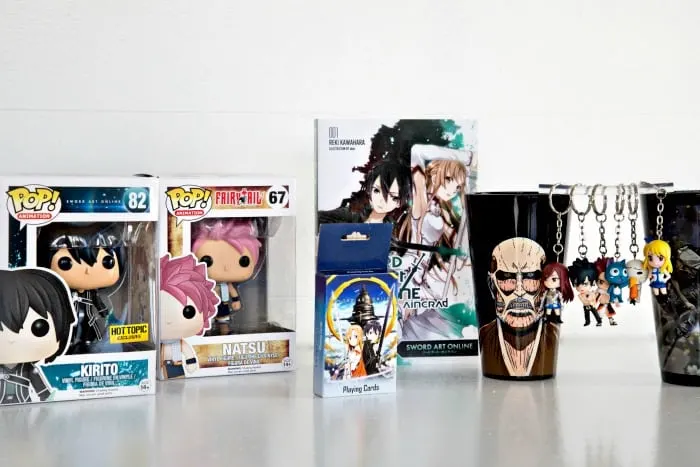
Step 6: Fill with anime goodies and watch your friend’s face light up when they see this ridiculously awesome DIY anime gift box you created just for them!
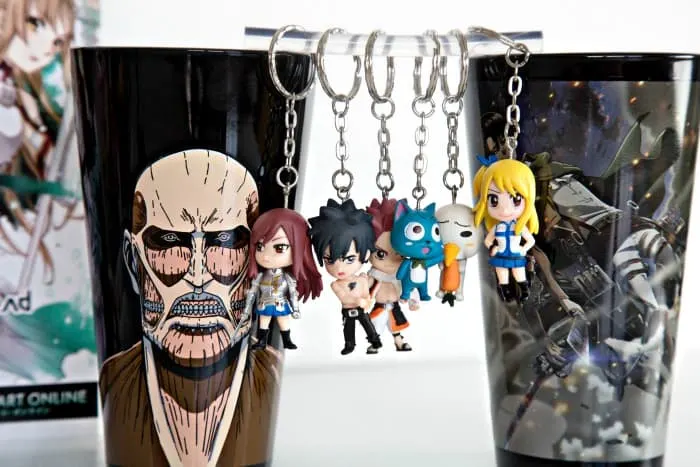
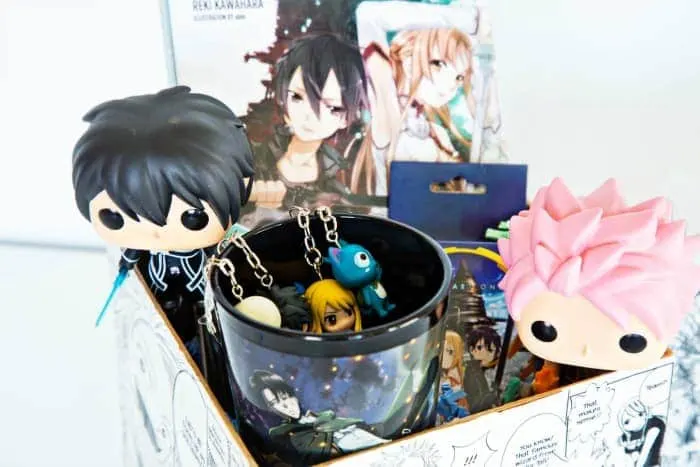
I had a blast making my DIY anime gift box and plan to make more personalized gift boxes in the future! If you make one, please be sure to share it with me because I would love to see it.


DIY Anime Gift Box
Fun and easy DIY anime gift box. Personalize every gift with these fun gift box ideas.
Check out the local thrift shops if you don't want to destroy your favorite manga.
Materials
- Cardboard Gift Box (I got mine at Hobby Lobby for 50% off so they were only $2.99)
- Mod Podge Glossy
- Fairy Tail Manga
- Attack On Titan Glasses
- Fairy Tale Keychains
- Sword Art Online Book
Tools
- Paint Brush
Instructions
- Tear out pages from the manga you want to use on your box. (Color the pages if desired)
- Cut images from the pages of the manga to fit your box. You can fit the images into your box as you go, or you can pre-measure everything. I find it more fun to work as I go, so and cut additional images out if necessary to fit my blank spaces. Don't be afraid to stack and layer images.
- Add images to your gift box by adding mod podge to the box itself first and then placing the image on the adhesive. Make sure your image is exactly where you want it before moving on. The images are pretty easy to move when you first place them.
- Cover your box completely and apply mod podge over the top of every image.
- Allow to dry completely. You may need to go back and do this a second time if it's not as glossy as you would like it to be after the first coat. I only used one coat for my box.
- Fill with anime goodies and watch your friend's face light up when they see this ridiculously awesome DIY anime gift box you created just for them!
