There is nothing more incredible than the birth of a child. It changes everything about your life and you become someone you said you would never be (you know it's true). You are more concerned about germs, leaving your little one behind is the hardest thing in the world, and keeping your baby alive and healthy is your number one priority. Fast forward a few years or months (if you're me) and you now have not one bundle of joy, but two. This time the experience, the emotions, and the way you handle life are entirely different. You aren't worried about germs; you're too busy trying to remember if you brought spare clothes in case you get pooped on again. As a second-time mom, you realize just how out of control your life really is. Now you're ready to chillax and take things as they come, not that you have a choice; it's just the only way to stay sane.
If you have a friend or family member, that has already had one child and, of course, a huge baby shower you may want to consider baby sprinkles! Baby sprinkles celebrate moms who are having their second (third, or more!) little blessing-and are a little wiser, a little savvier, and a bit more comfortable being laid back about it!
With that in mind, I would like to share a few Easy DIY Baby Shower Decor ideas that will please your second time around (or more) mommy friend, and leave your first-time mom squirting hand sanitizer on everything at the party! 😉 Today we are upcycling some stuff we had lying around the house, but you can also easily find these items at a thrift store. Even though the guest of honor is pretty chill now we still highly recommend washing everything you use multiple times. Just because we roll with the punches doesn't mean we want anyone to end up in the ER.
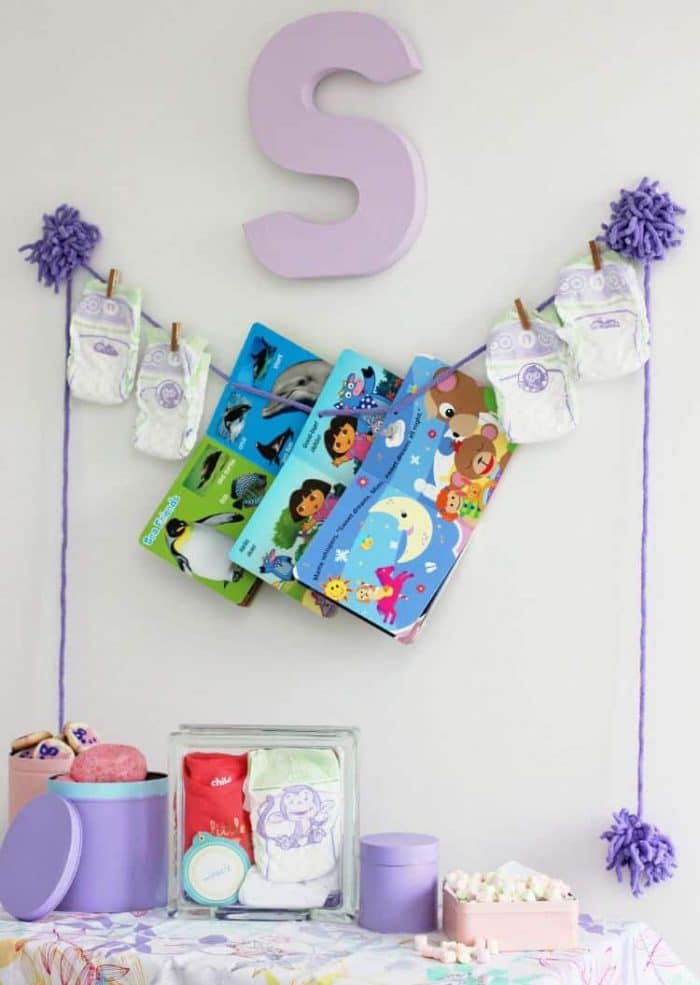
Banner Centerpiece:
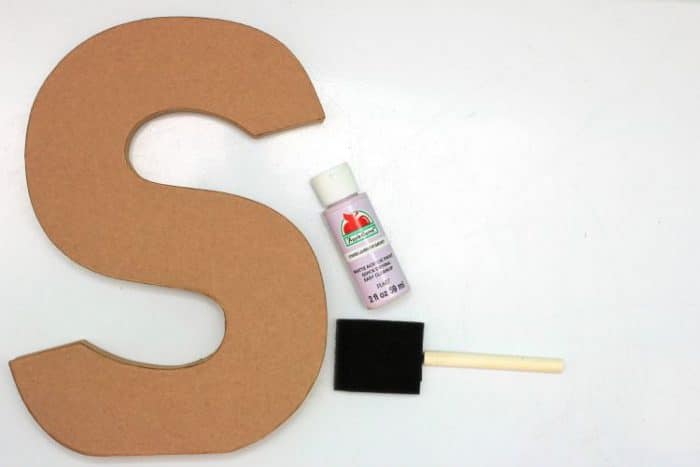
It doesn't get much simpler than this. Once you have decided on your theme and colors stop by Walmart and pick up one of these awesome cardboard party letters. Then choose some matching paint and a sponge brush.

Go ahead and get this painted early because it's going to take a few coats to cover it. Allow plenty of drying time in between coats so it doesn't ruin the cardboard. I applied a light coat on each side making sure the cardboard remained as dry as possible. I think I painted 3-4 coats on this only painting one side at a time.
Once it's completely dry, you can attach it to the wall using tape or putty. I would recommend putty that way the mom can re-use it in the baby's room.
Baby Board Book Banner:

The baby board book banner is one of my favorites for moms who love to read. I feel like it adds a personal touch to the shower that speaks more about the mom than it does the child (which I love). You can personalize this banner any way you like, but I'll tell you what I did. I didn't have any baby books lying around, so I picked these up from the thrift store for .15 each. I made sure to wipe them down with sani wipes to knock off the dust and germs. I was going to paint the cute mini clothes pins, but I changed my mind.
What You Need:
- Board Books
- Hole Punch
- Yarn or Rope to match your color pallet
- Luvs Newborn Diapers
- Mini Clothes Pins
- Command Clip Hangers
- Paint (if you choose to paint the clothes pins)

First things first you're going to do something you never imagined doing. You're going to punch a hole in this book. Gasp! Don't worry the baby won't mind. 😉 Make sure you punch your holes in the same place on each book, you want everything to hang evenly.

Then you're going to thread your yarn (or rope) through the holes. Make sure all of your books are facing the same direction and lay them out the way they will hang. Be sure to leave a good amount of yarn on each end, so it hangs close to the table and is long enough to attach your pom poms.

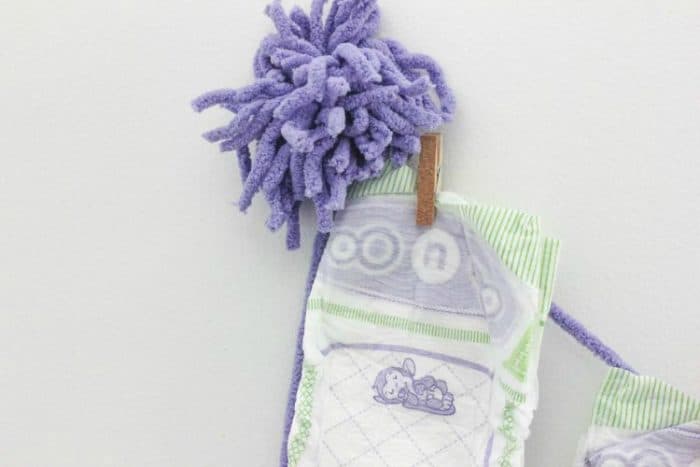
Place your centerpiece in the desired location and attach your command hooks below it. It's easier to hang the hooks when you center them using your letter. Hang your banner and allow the books to drop to the center. Then you're going to tie knots in your yarn on each hook, so it stays in place. Once you have everything secured on the hooks, you can add your Luvs diapers by attaching them with the mini clothes pins.
Now it's time to make your pom poms to cover the hooks and attach to the sides. You can watch this video to learn how:
I rolled the yarn around the toilet paper rolls 20 times for the pom poms covering the hooks and only 15 times for the smaller pom poms hanging on each side.
You can easily hook the top pom poms and tie the bottom ones on to secure them.
Food Table Containers:

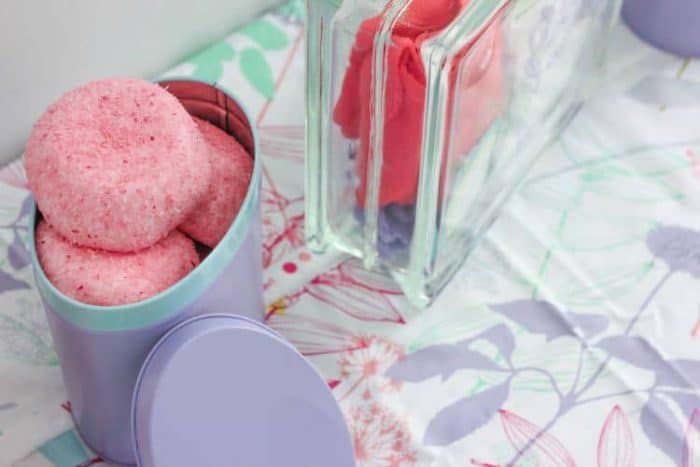
To make your food table containers you can use any old tins you have lying around or pick them up at the thrift shop. I think I paid about .59 for each container. Then all you need is some spray paint and a place to transform your old tins. I soaked my tins for 30 minutes before drying them off to paint them. No one's getting food poising around here!
Please for the love of all things crafty don't forget to make sure you secure any newspaper or trash bags you use to paint your tins. I can not tell you how many times this stinking trash bag blew up on my painted container before I finally held it down with mason jars (and anything else I could find). Needless to say, the tin pictured is now my nemesis (even though I was my own worst enemy for lack of planning).

Once my containers were completely dry, I washed them again and lined them with tissue paper. Then they were ready to be filled with sweet treats!
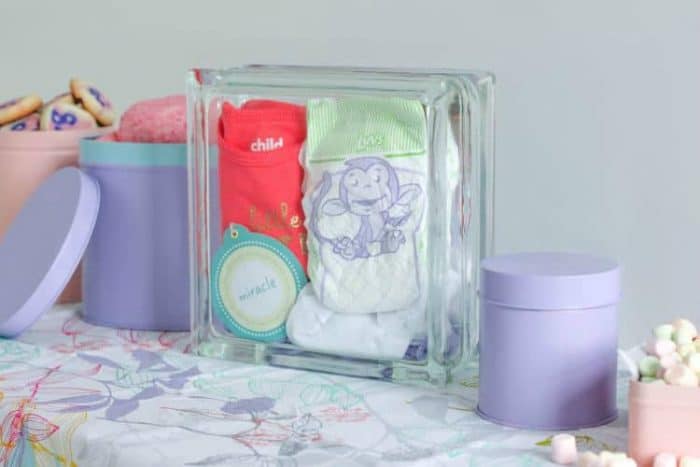
DIY Shower Gift Idea: Baby Time Capsule
I was trying to think of something that would be fun and useful for a second-time mom, and this is what I came up with. We all know what happens to those baby books after the first child... they have maybe three pages filled out and the rest are blank. With that in mind I thought it would be cool to fill a time capsule for the baby instead.
I used a display block I had here at home, but you could use any display case or container you want, assuming you're not burying it then you probably need a special air-tight apparatus :P!
What you add to the capsule for display is completely up to you. Obviously mom will be packing the final version but you can give her ideas and present your gifts in a cool way.
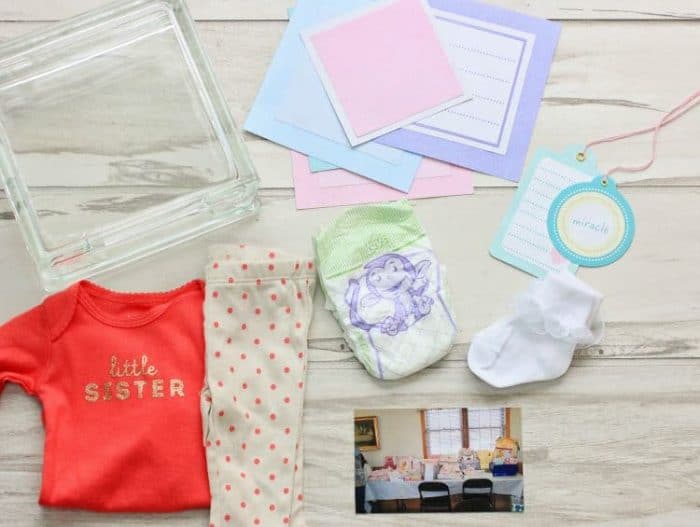
Here are some ideas:
- An outfit (which she may switch with the going home outfit)
- Baby socks because... Cuteness
- Luvs Newborn diaper
- Notes from shower guests (I used some old scrapbooking paper I had on hand)
- A photo from the shower (you can print this before she leaves)
- Then mom can add hospital bracelets, baby
mugshotser hospital photos, and those sweet footprints.
After you've gathered all the supplies simply place them in the case and write a sweet note to your favorite mom to be explaining how the gift works. It would be cool to have the child open it on their 16th birthday in the presence of everyone who added a note! I think this gift also makes a cute centerpiece!
So there ya have it! Three affordable Easy DIY Baby Shower Decor ideas! Happy Showering!
~This post is sponsored by Vocalpoint and #LuvsBabySprinke . All opinions are my own.


Comments
No Comments